Nginx简介
Nginx是一个web服务器也可以用来做负载均衡及反向代理使用,目前使用最多的就是负载均衡
Nginx安装
准备工作
下载Nginx
首先到官网下载Nginx,点击Nginx官网
下载模块依赖
下载模块依赖性Nginx需要依赖下面3个包
- gzip 模块需要 zlib 库 ( 下载: http://www.zlib.net/ )
- rewrite 模块需要 pcre 库 ( 下载: http://www.pcre.org/ )
- ssl 功能需要 openssl 库 ( 下载: http://www.openssl.org/ )
如果没有安装c + +编译环境,请通过yum install gcc-c++完成安装
开始安装
我把下载好的Nginx及相关组件放到/opt/soft/nginx/目录下
|
|
依赖包安装顺序依次为:openssl、zlib、pcre, 然后安装Nginx包
安装openssl
|
|
安装zlib
|
|
安装pcre
|
|
安装nginx
|
|
启动Ngnix
进入到安装目录启动nginx
启动报错解决:
查看启动状态
ps -aux | grep nginx
启动后输入地址进入首页
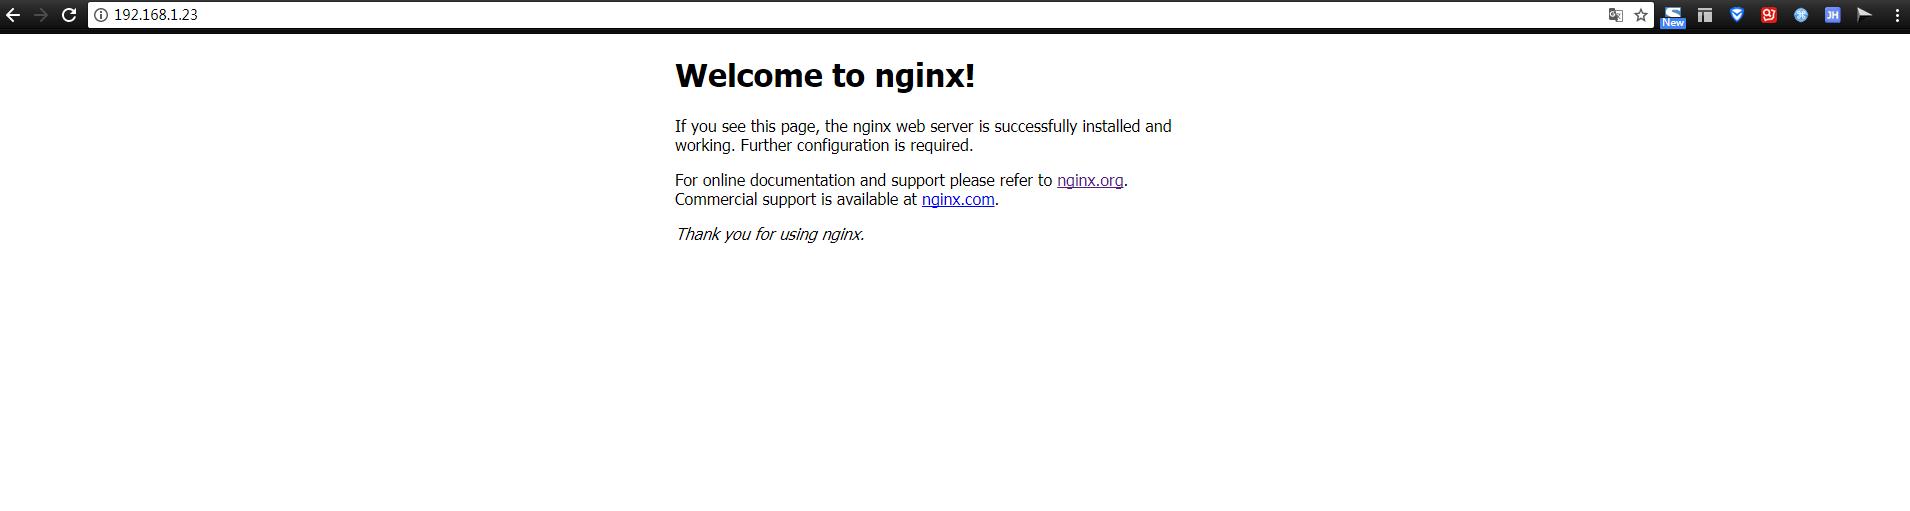
Nginx基本操作命令
|
|
简单配置Ngnix
配置nginx.conf
|
|
配置参考这里,感谢!!!
测试一下
- 增加hosts
打开C:\Windows\System32\drivers\etc\hosts文件,添加一下内容
|
|
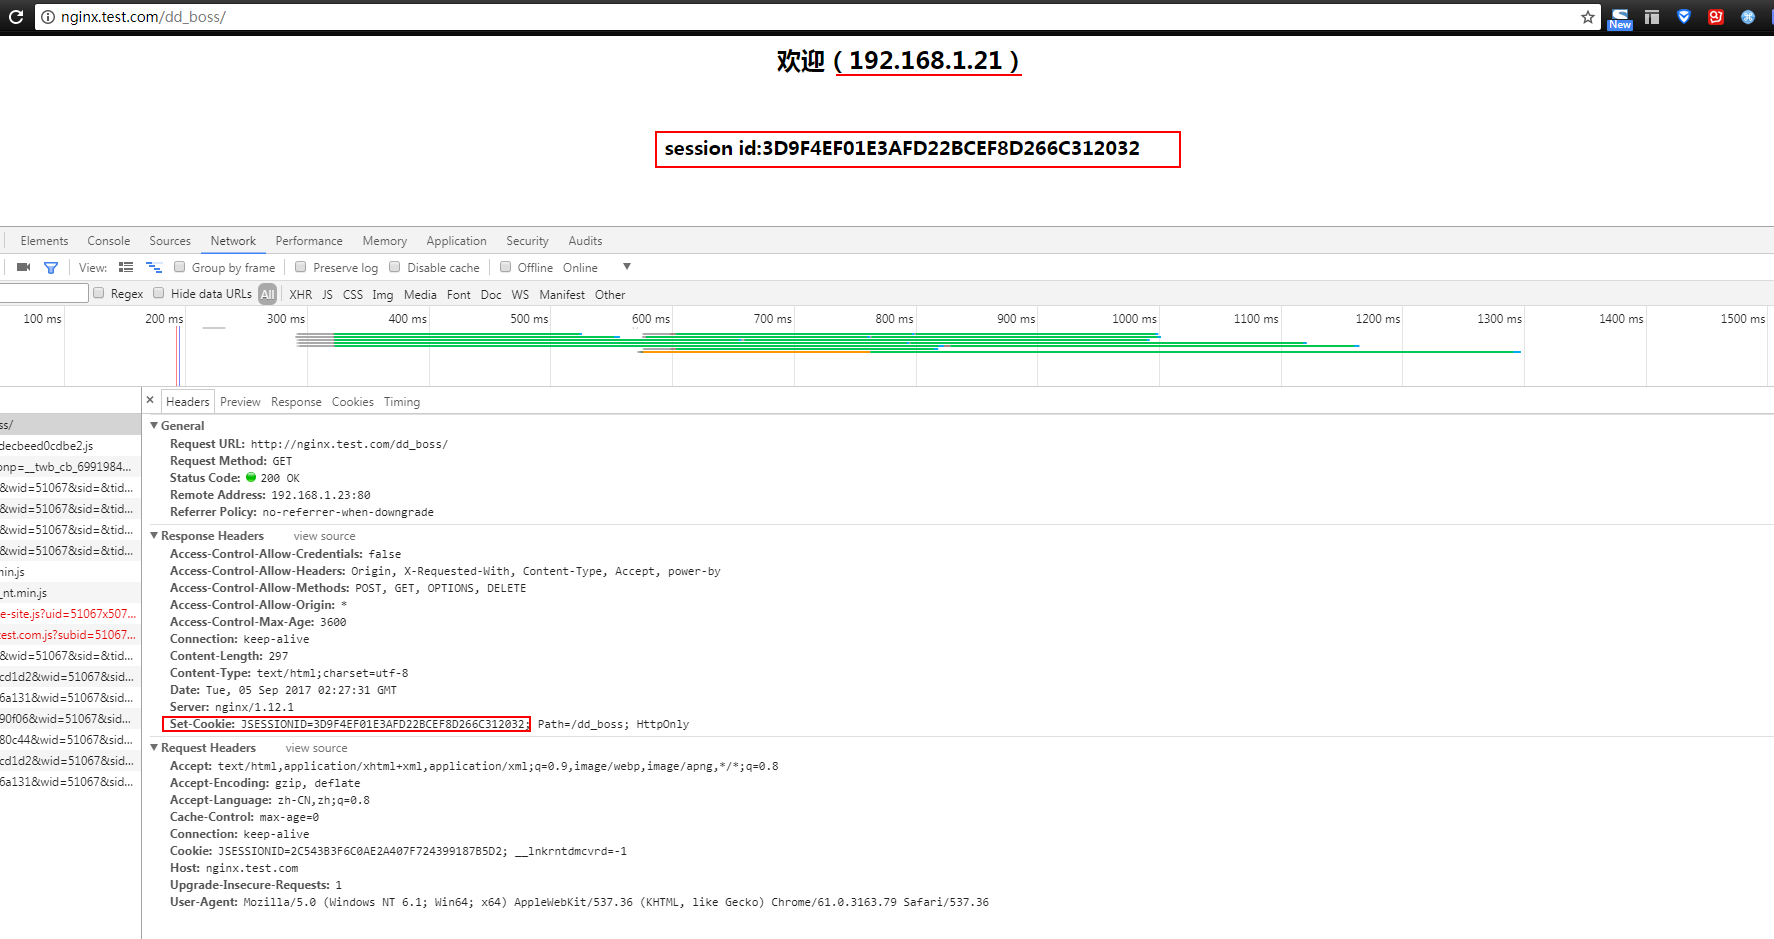
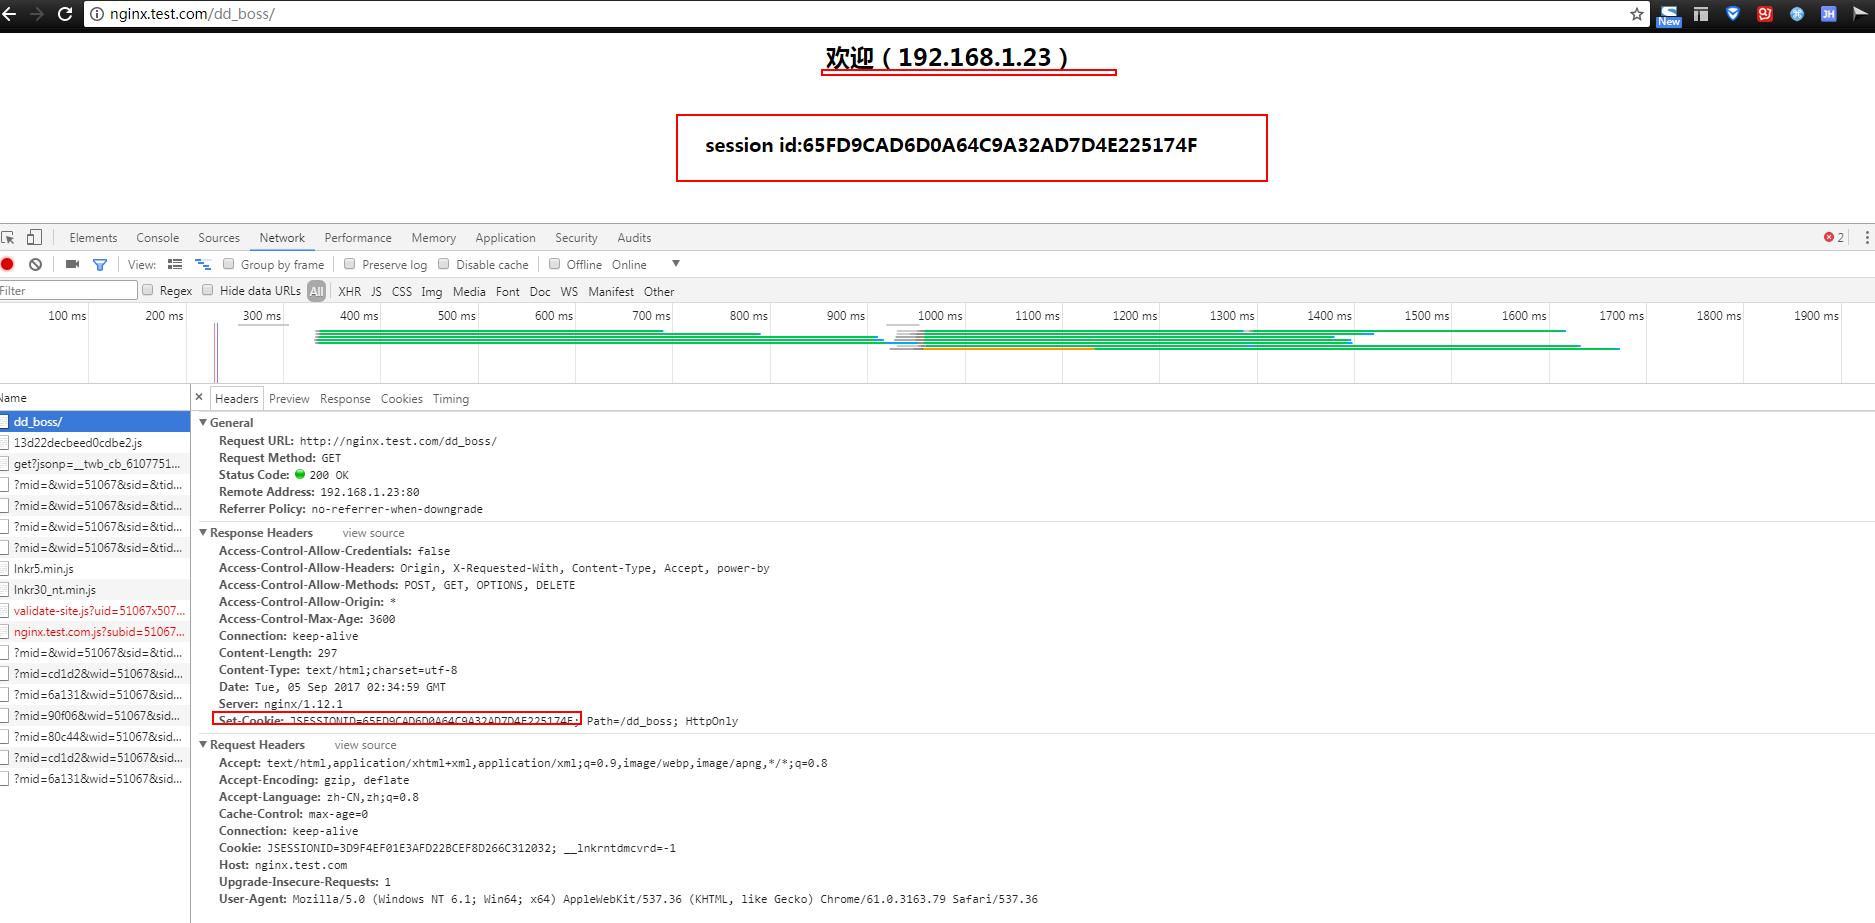
- 访问一下
打开浏览器,访问nginx.test.com,我们的nginx默认采用轮询的策略,每刷新一次,可以看到访问了不同的服务器,sessionId也随之变化.
session共享
session存在memcache或者redis中,以这种方式来同步session,把session抽取出来,放到内存级数据库里面,解决了session共享问题,同时读取速度也是非常之快。
安装redis
我们在192.168.1.23的服务器上安装了redis了,安装过程省略,查看redis进程
|
|
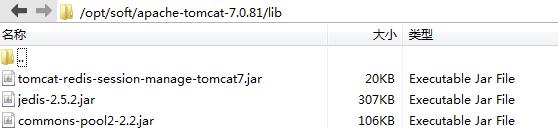
加入第三方jar
在tomcat安装目录,我这里是/opt/soft/apache-tomcat-7.0.81/lib,添加以下3个所需的依赖jar包
目前仅支持tomcat-redis-session-manage-tomcat7.jar仅支持tomcat7.0
tomcat-redis-session-manage开源项目参考这里
修改context.xml配置文件
修改context.xml配置文件,添加以下内容
|
|
测试一下
启动redis服务,重新启动所有tomcat,启动nginx,刷新nginx页面,两台tomcat页面可以看到sessionid值不变。
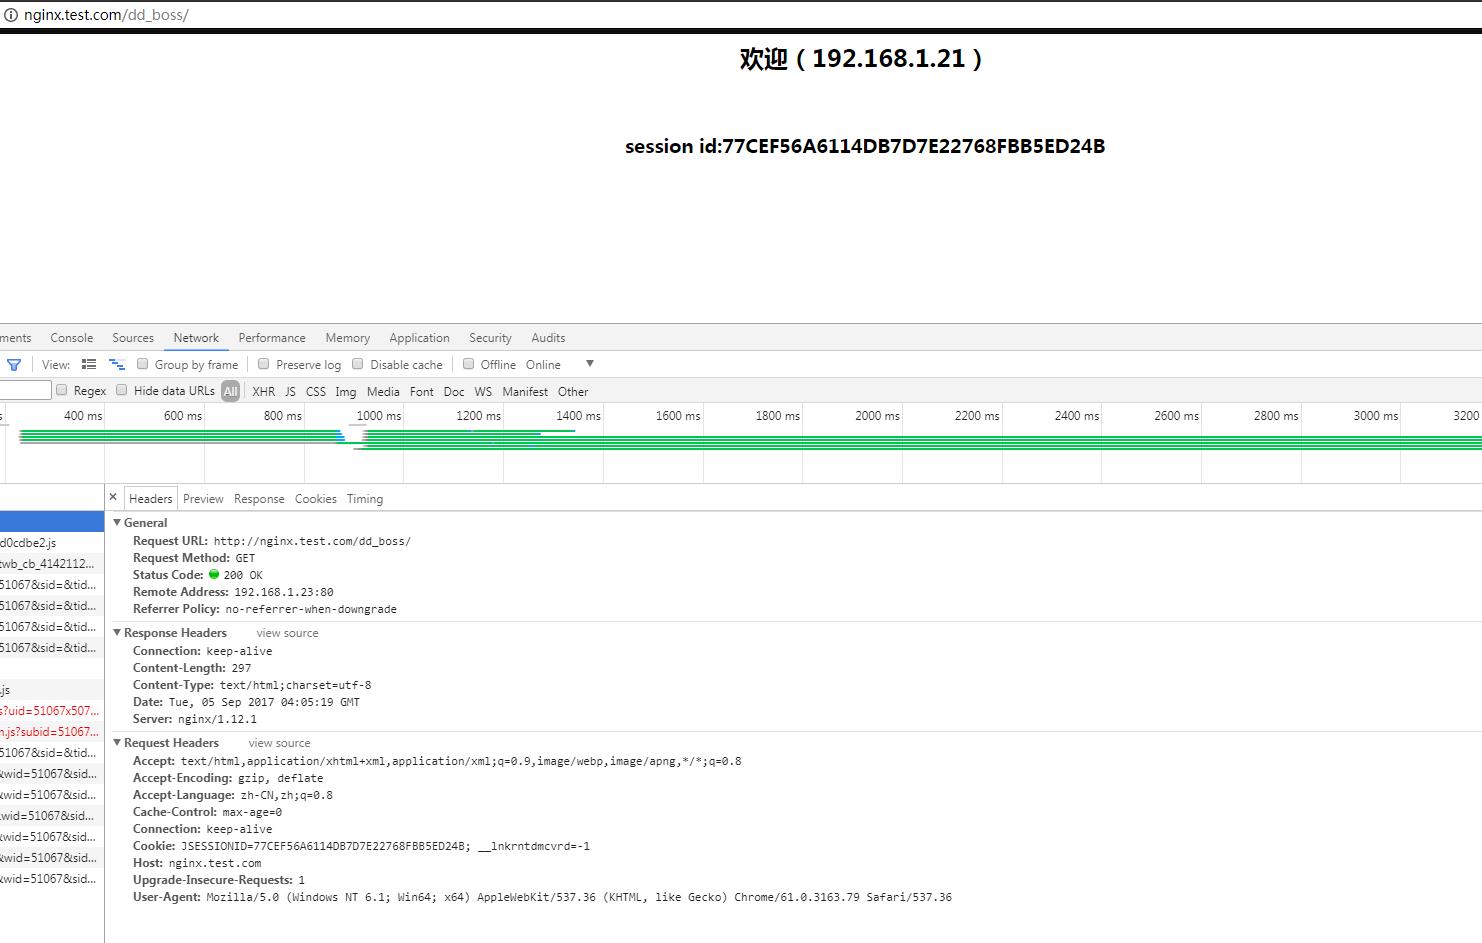
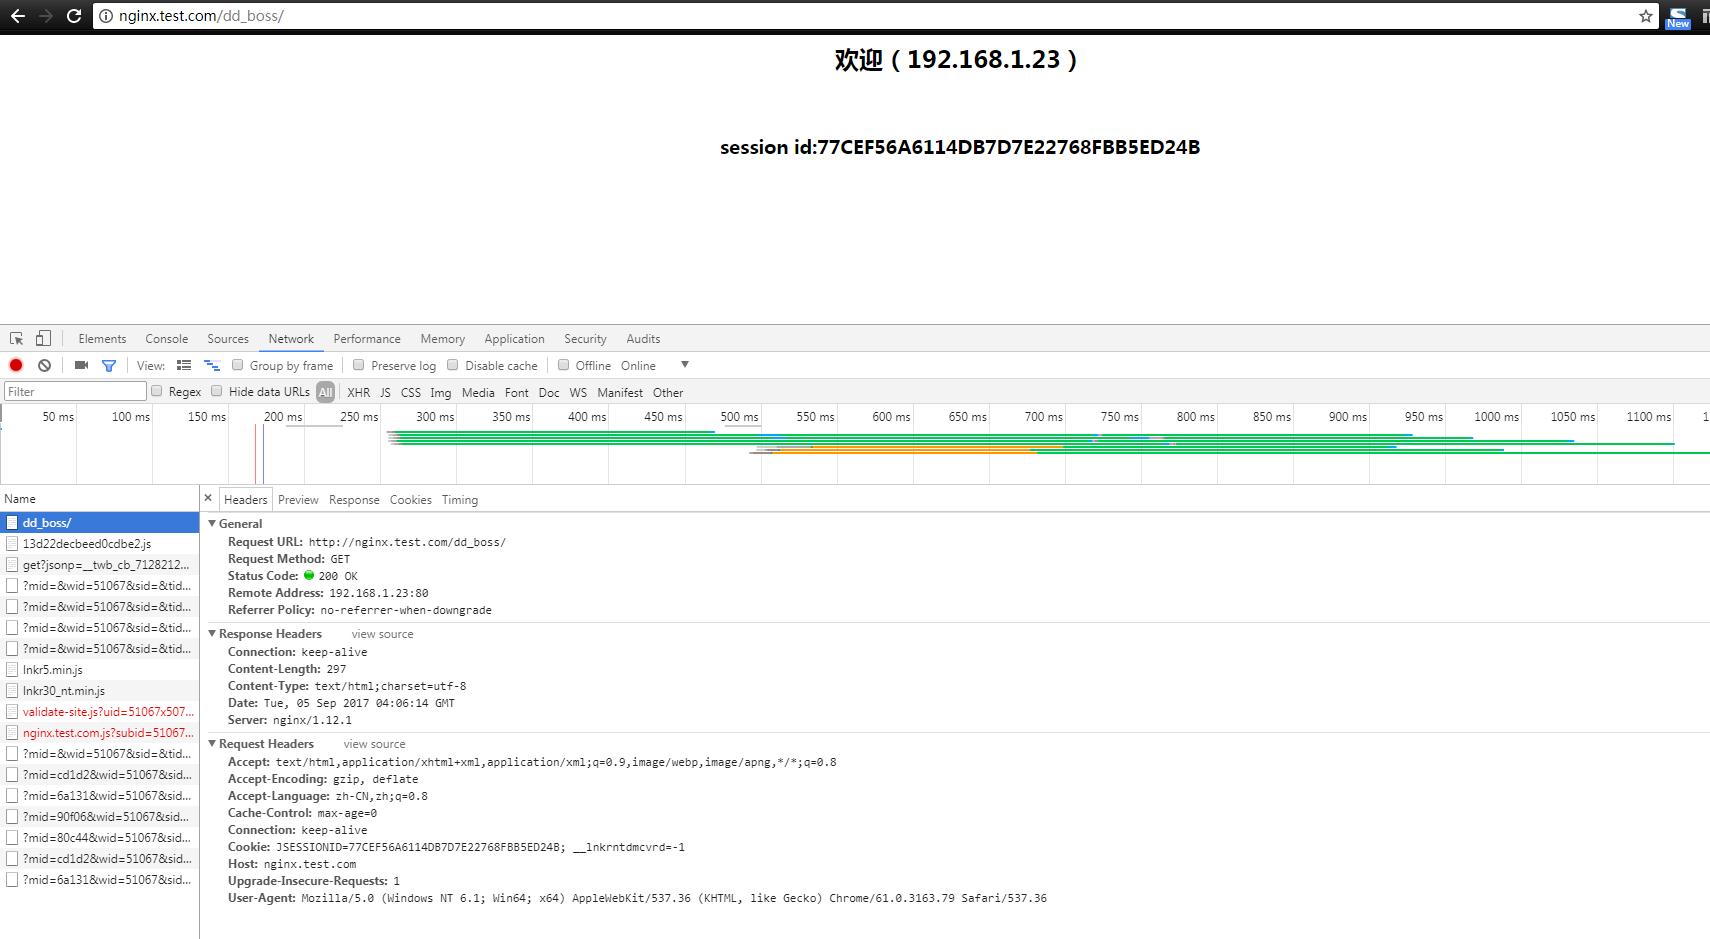
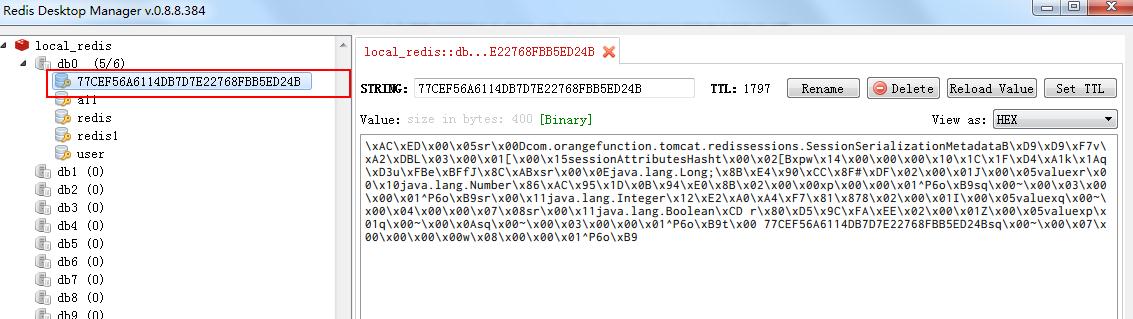
查看redis中,的确存在该sessionId。
|
|